~.~.~THE MAYAN PROJECT~.~.~
To create the entourage for this walk-through I will be using two design softwares, Poser and Maya. Poser is a fugure design and
animation tool. It produces lifelike 3-D illustrations and animations of
human and animal figures. Poser is user-friendly and doesn't require much
time to get used to. Maya is an animation, design and visual effects system that produces digital images of animated characters and scenes.
. . . STAGES OF WORK . . .
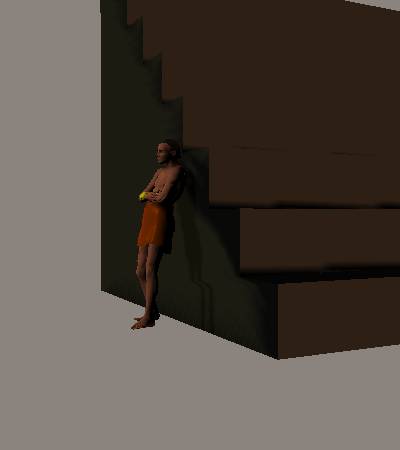
Before starting to design the Mayan people, I needed a general background on the Mayan civilization. After doing some researching and reading, I had a general idea of how the Mayan people might have looked and lived and so I started the design process.
- The first step was to work on designing the appropriate clothing.
Unfortunately, the default clothing items in Poser did not match what
I had in mind and so my options were:
1- Use a second software to generate the clothes
2- Find clothing online
3- Be creative with what I have.
I tried all but the first. I found some very interesting and useful
images online and I also spent most of my time playing around with
the available clothing deforming them and changing them to suit the
wanted style. Click here to view some
examples of my "creative" work on clothes.
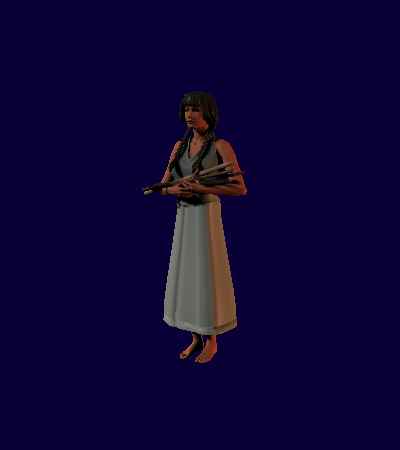
- Now that I had some clothing items that might seem to belong to the
time of the Mayans I began to create the Mayans themselves.
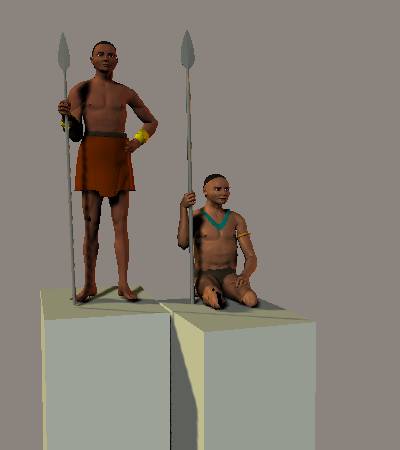
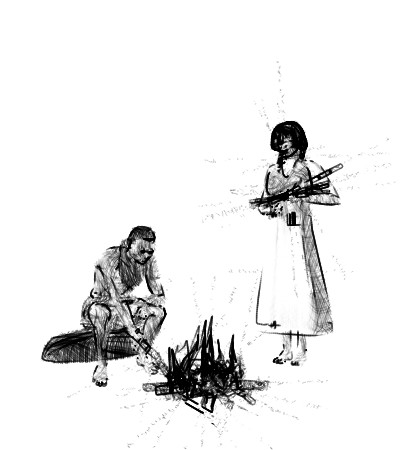
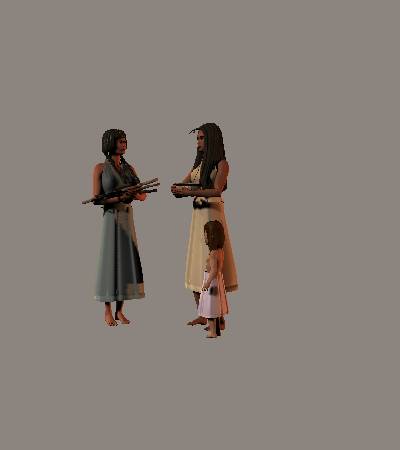
Below are some examples of what I have created.
The time to design the groups differed from one group to the other.
The Soldiers scene took about 2 1/2 weeks because it took time to
search for the spears, also it was very difficult making the clothes
appear to be fit as well as the accessories such as the necklace and
the "hand-cuffs".
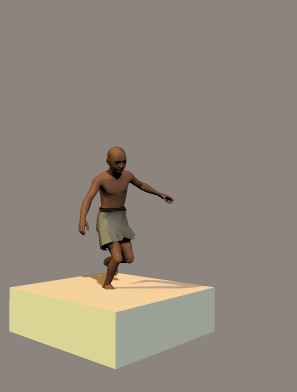
- The third step is to animate the different groups. The animations are kept
at a minimal because there isn't much emphasis placed on them in the walk-through.
- The last stage is to combine all the various groups and their animations,
along with what the other members in the team have created, into the final
project. This will a long way down the road and we may not even get to do that
by the end of the summer.
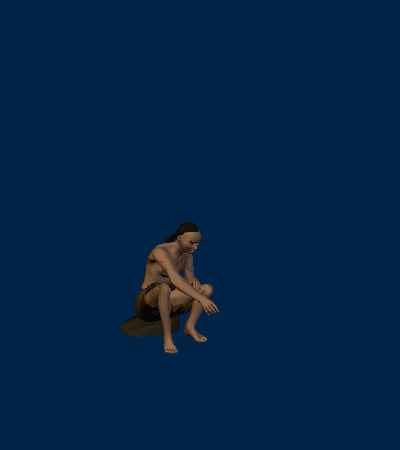
Here are few more examples of the different groups. The sketched ones were
done using a feature in Poser called "Sketch Render".
. . . Maya's Paint Effects . . .
This is the second phase of my project. Along with creating the people for the
walk-through, I will also be designing the scenary i.e. the landscape. I am
using the Maya software which contains a feature called Paint Effects.
It's a painting tool allowing the user to create amazing detail both on a 2D
canvas and in 3D space.
I will be using the 2D canvas to create texture files that will later be used
and placed on polygons in World Tool Kit. The polygons will be
strategically placed to give the impression of background scenary. Below are
some examples created using this paint program (click for a larger image):
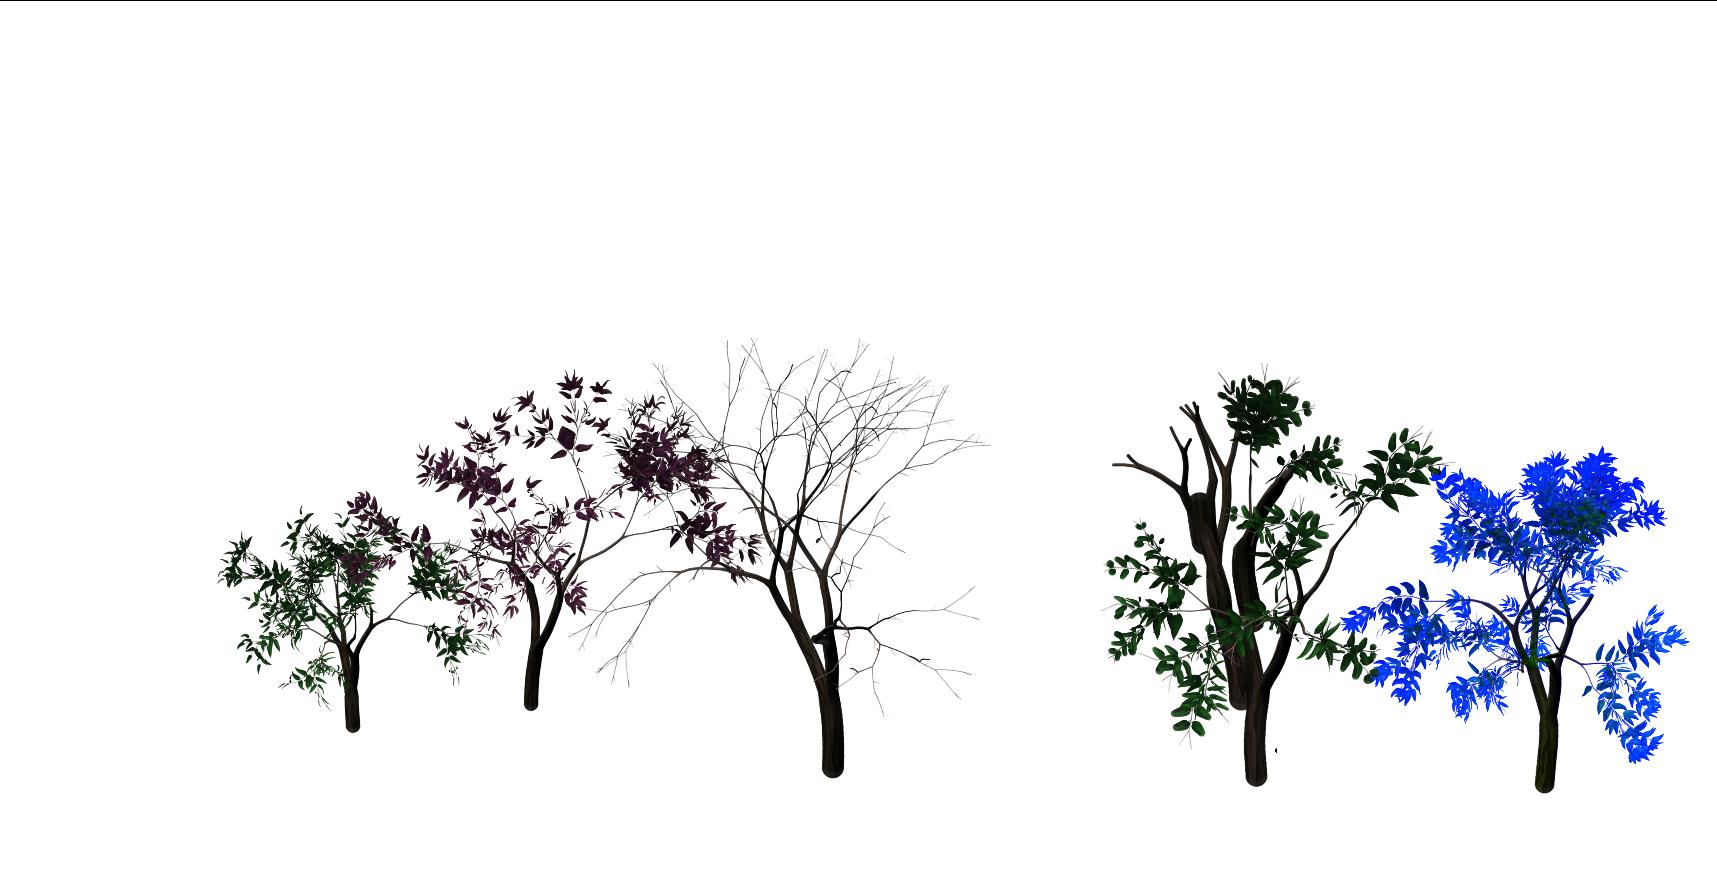 |
This displays the various stages of painting trees. Starting
from the left there is the complete tree. Next one shows the cabability of
controling the colors. The third shows the option of creating a tree with no
leaves. The fourth is an example of a tree that is partially drawn and the
last one is another example of color control.
All of these were
created by simply chosing a brush type, a tree in this case, and then simply
dragging the mouse and Maya does the rest. |
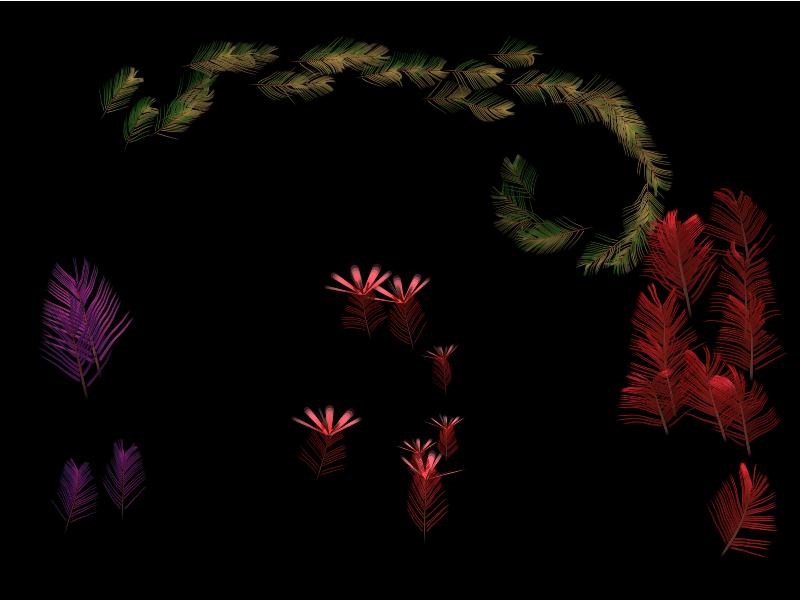 |
This is similar to the one above. It displayes various stages of feathers. This shows the capability of controling colors, one can even paint the feathers with two different colors such as the yellow-green ones shown. Also, you can turn on the flower feature as shown in the middle feathers. |
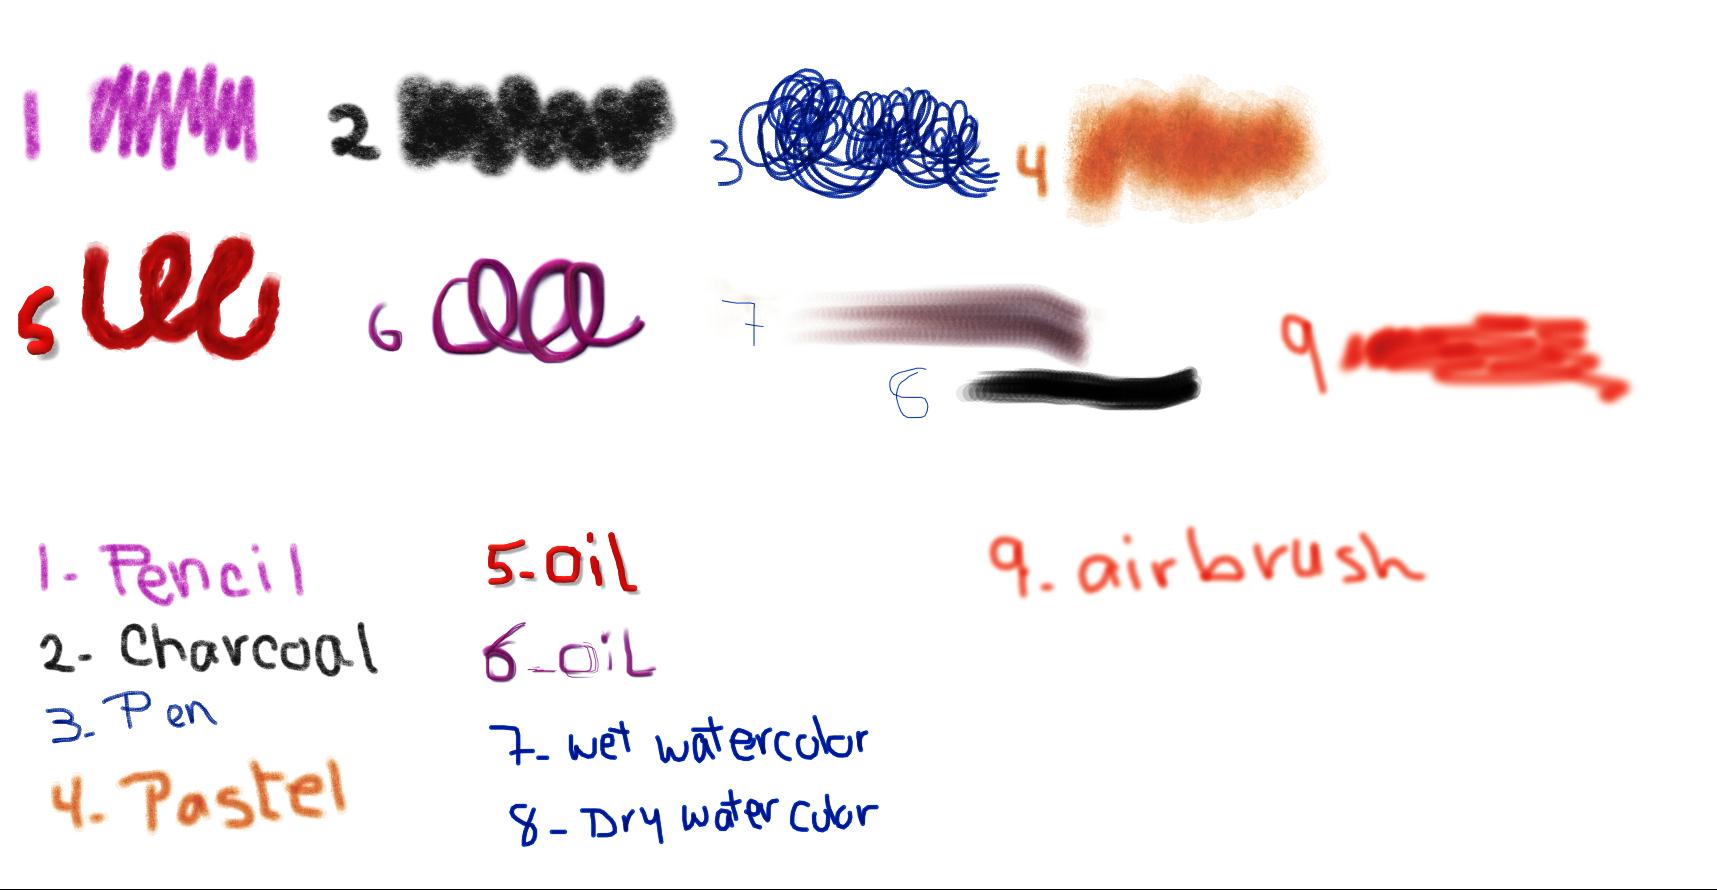 |
This image shows some of the different types of media that can be simulated
using Paint Effects. There are various types of paints, inks, and
airbrushes. |